Journal Report
Objective: Gain an understanding of how to generate a Journal Report and how to export and download a generated Journal Report in the Accounting module.
Prerequisites: This action requires some things to be completed prior to commencing.
Users may need to have an Unzip tool installed, to extract the exported CSV file, as the larger journal exports will be compressed for download.
To generate a Journal Report, From the Navigation Sidebar, select 'Accounting' and from the Navigation Dropdown, select the relevant ledger, either 'Fair Value' or 'Historical':

Then click the 'Financial Year' tab which will display the available reports, including the Journal report. Once the financial year page has been loaded, the first Financial period in the current financial year will be loaded by default.

Select a Financial Period or a Financial Year from the hierarchy tree on the left-hand side and then select 'Journal Report' from the panel to load the following screen:
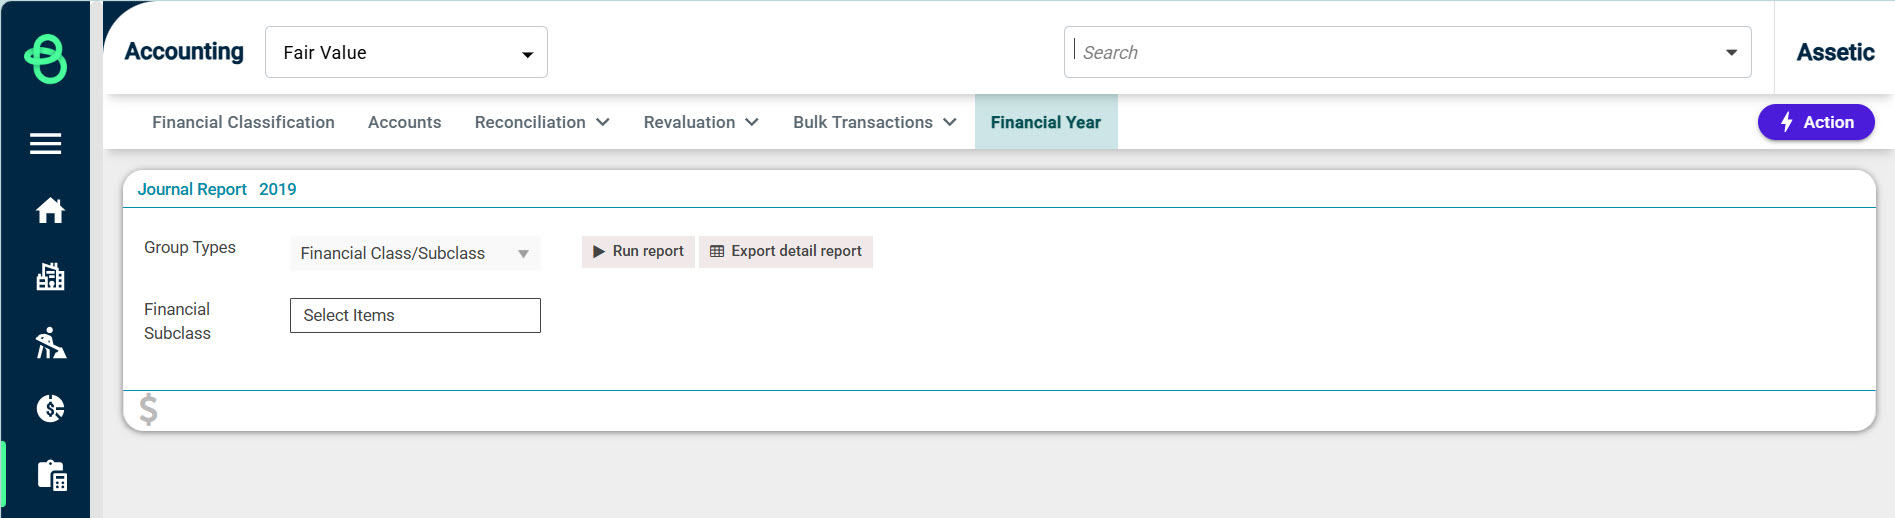
Select one of the available group types, 'Financial Class/Sub-Class', 'Transaction Type', or 'Project Code'.
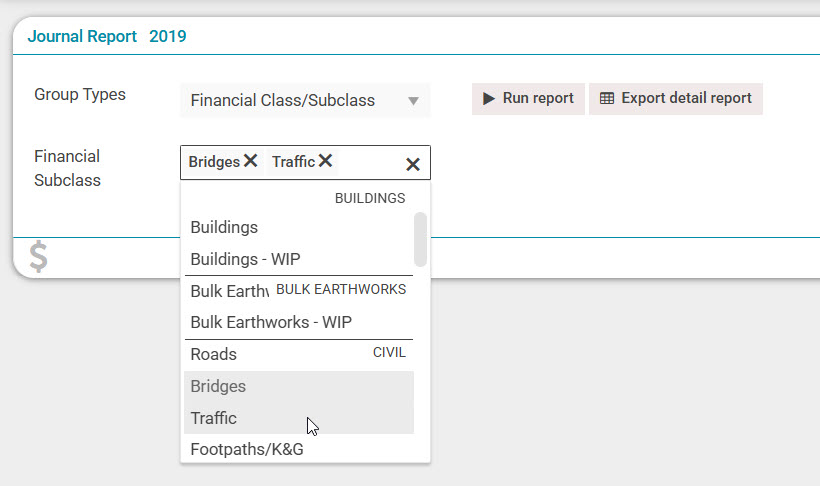
If Financial Class/Sub-Class or Transaction Type are being used as the group type, additional filtering can be added in the secondary dropdown.
Otherwise, leave the secondary drop-down menu empty to run to report with no active filters.
The ‘Export Detail Report’ button can be used to export the Journal Report immediately.
Alternatively, select 'Run Report', which will generate the Journal Report in the UI as shown below:
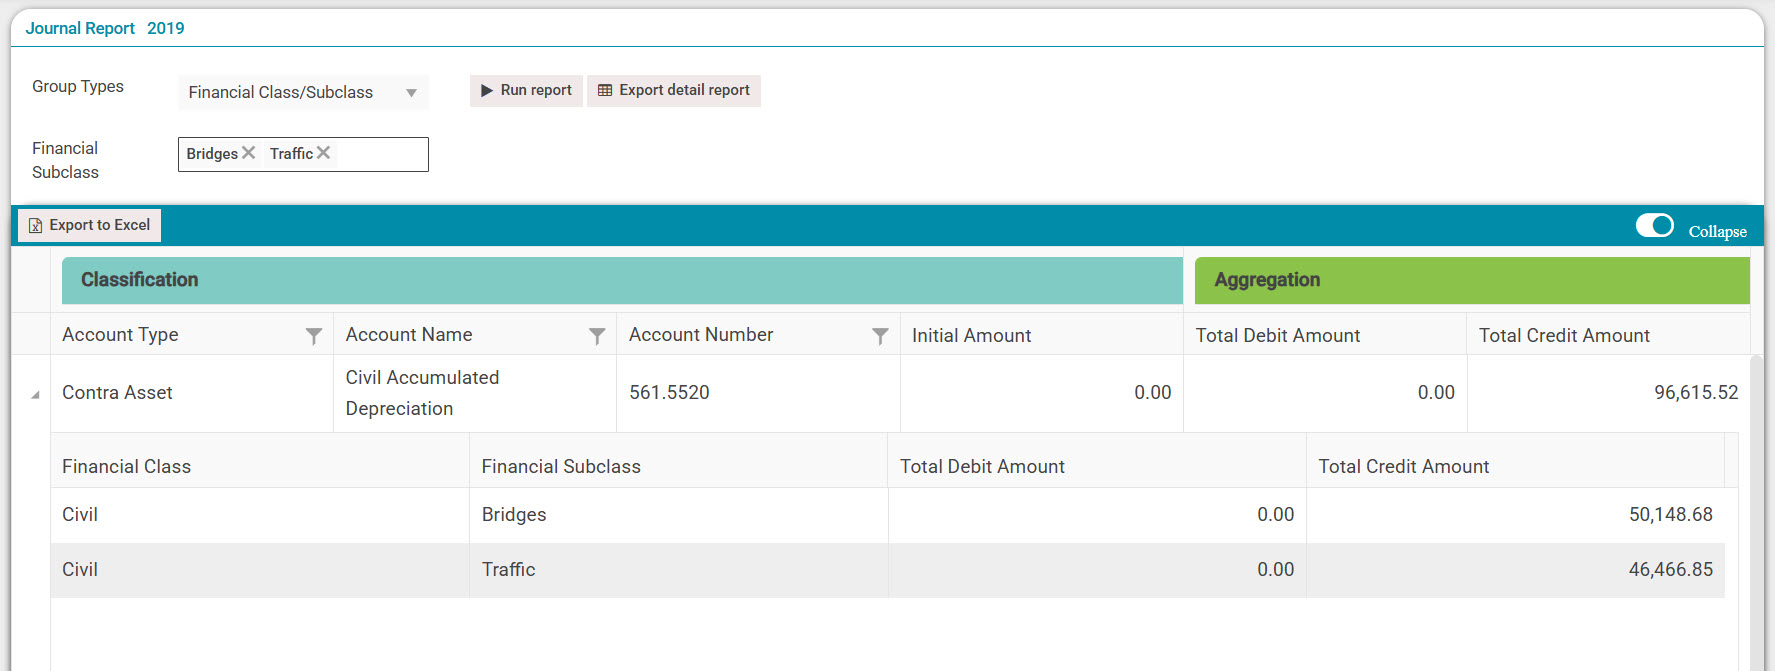
The report can be collapsed using the toggle button on the right-hand side.
The 'Export to excel' or 'Export detail report' button can be used to export this report.
Clicking on 'Export detail report' displays a confirmation message on the bottom of the page, if there is no background accounting process going on:

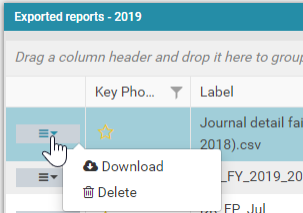
To view the exported report, click on the 'Financial Year' tab and select the Financial Year/Financial Period to view the 'Exported Reports' grid:
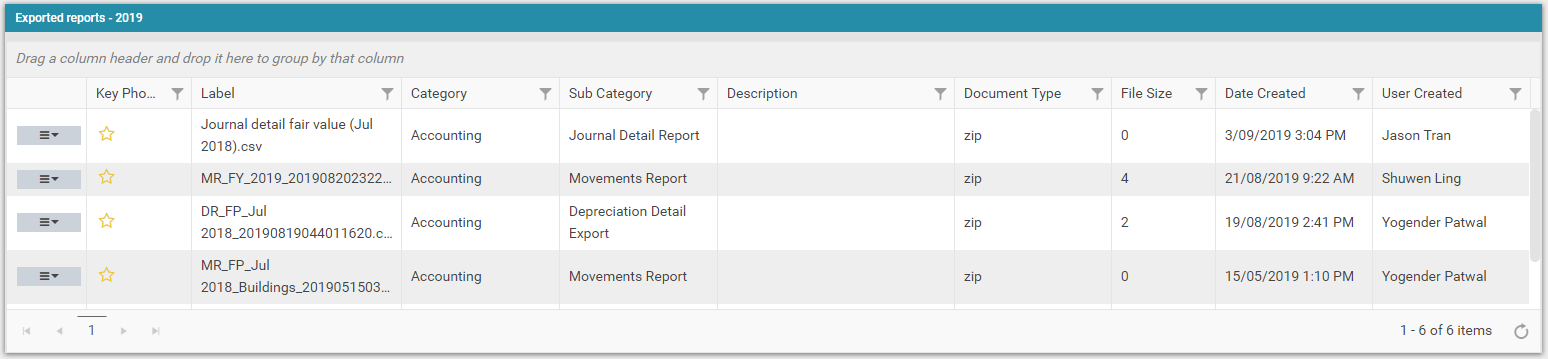
The exported reports are available in the Zip file format. Click on the menu icon for each report to download or delete that report: